How-to set up a VCI (Pod) device for wiADVISOR
.
Before you begin:
- To reduce time, it is recommended that your Dealer Service Team migrate all microPods at once. Each individual must have a wiADVISOR microPod device with its USB cable and a Windows PC or Laptop.
- Review the new wiADVISOR Network Requirements. Click here to get redirected to the knowledge base (KB) article or visit the knowledge base site: https://kb.n.fcawiadvisor.com/article.php?id=4
An IT person must review these requirements to make the proper changes/updates to the dealership’s network. - It is recommended to have the PC firewall turned off throughout the process for the VCI device to obtain access to the network via USB connection.
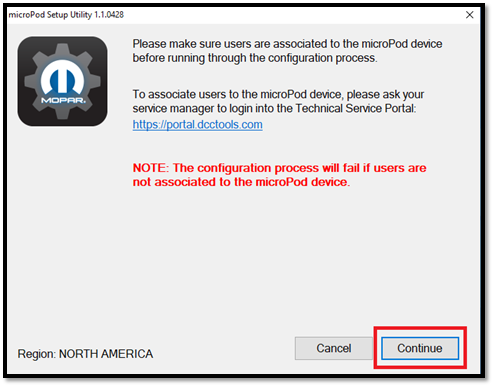
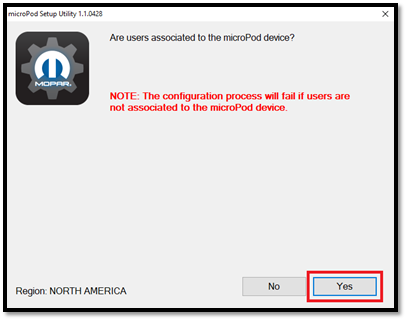
- Users must be associated to the VCI device prior to running through the configuration process. Service managers can associate users to the VCI device using the Technical Service Portal.
- If a third-party Virtual Private Network (VPN) application is used on PC, it must be disconnected and closed.
Setting up a VCI device (microPod / Mopar Diagnostic Pod) for use with the new wiADVISOR system is a fairly straightforward process. We’ll go into detail for each step, but the following is a high-level summary:
- Download and install the wiADVISOR VCI/microPOD Setup Utility to a Windows PC.
- Run the VCI Setup Utility and follow the prompts.
- Login to the wiADVISOR new UI: https://www.wiadvisor.com/login and update the VCI device software.
- Set up your network wireless profile on the VCI via Device Manager. Check to ensure your VCI device is connected to a wireless network.
Step 1: Download and Install the wiADVISOR VCI/microPOD Setup Utility to a Windows PC
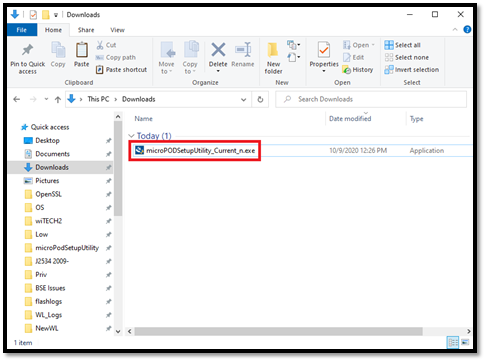
- Download the wiADVISOR VCI/microPod Setup Utility: "Click Here to Download"
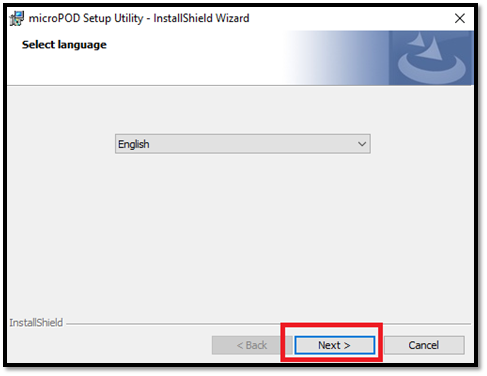
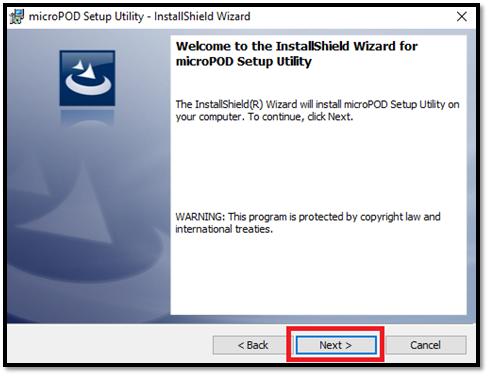
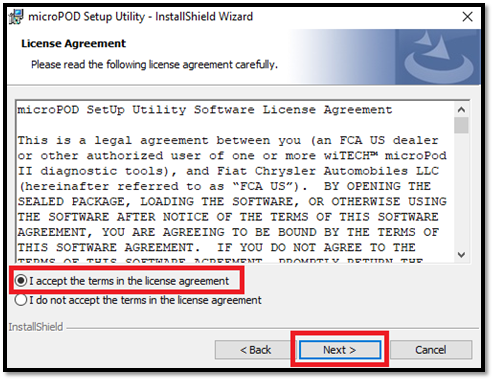
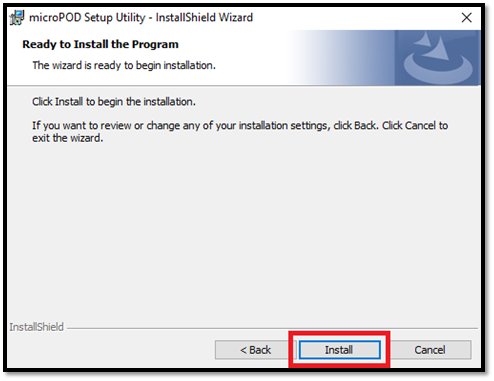
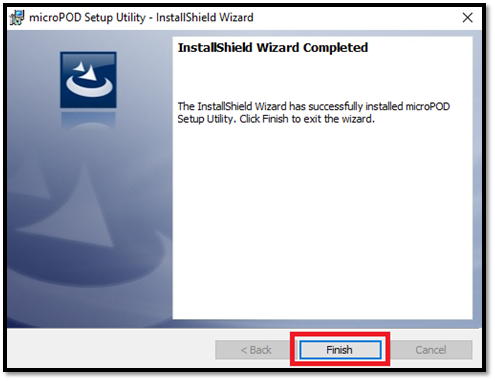
- Once the file is downloaded, open it and install the application by following the prompts.
Step 2: Run the VCI Setup Utility to configure the VCI device
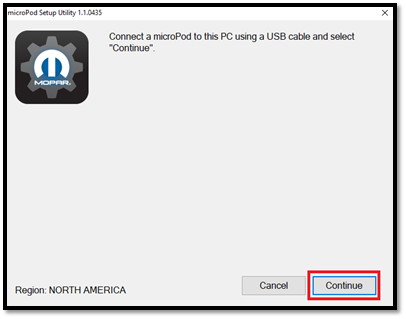
- Connect the VCI device (microPod / Mopar Diagnostic Pod) to the PC via the provided USB cable.
- Launch the VCI Setup Utility from the Desktop.

- Select "wiADVISOR".

- Follow the prompts.
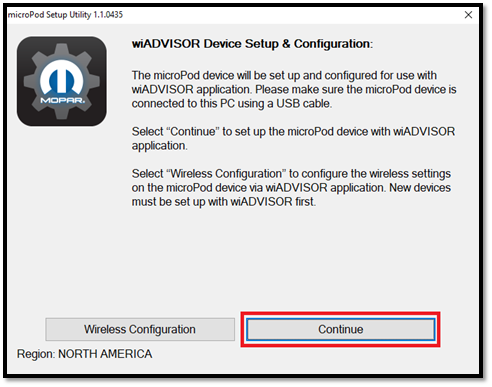
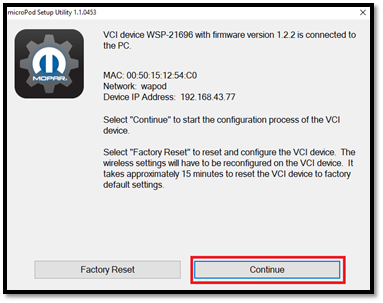
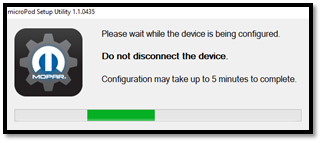
- At this point you will see the window below. It is critical that this window remain open throughout the process. Do NOT close it.
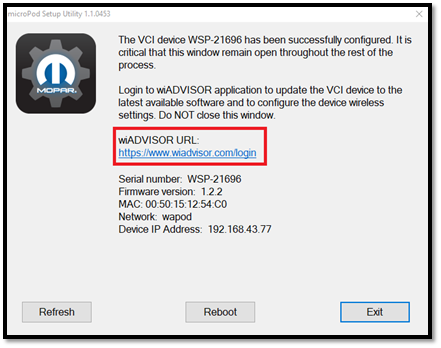
- Login to the wiADVISOR new UI: https://www.wiadvisor.com/login
Step 3: Login to the wiADVISOR new UI to update the VCI to the latest software
![]()
- At this stage the VCI device depends upon the VCI Setup Utility to obtain access to the network via USB connection if it’s not connected to a wireless network, so if the VCI Setup Utility was closed by accident, simply re-open it and leave it running in the background.
- Ensure the VCI device is still connected to the PC via USB cable.
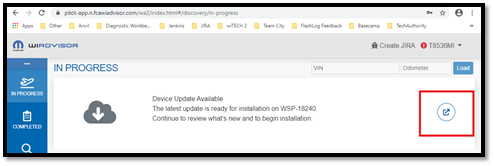
- Login to the wiADVISOR new UI: https://www.wiadvisor.com/login
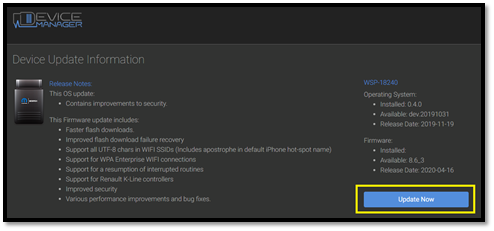
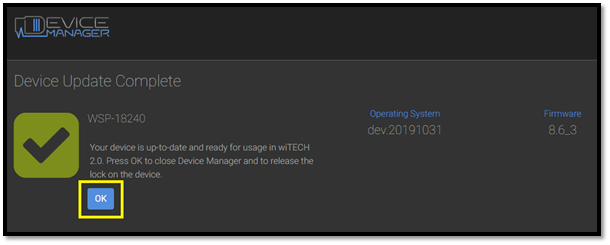
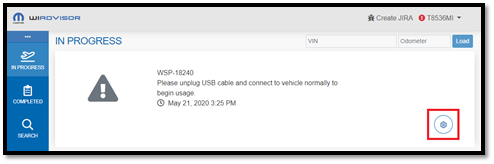
- Once the VCI appears in the In Progress queue, update the device by clicking the update icon and following the prompts.
- NOTE: The update process is handled in Device Manager in a new tab.
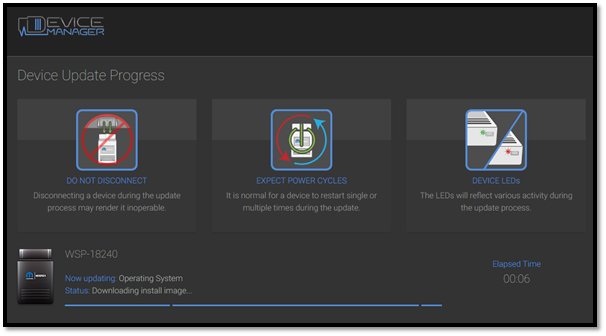
- NOTE: It is not unusual for the update to take upwards of 10 minutes, but depending on bandwidth it typically takes between 8 to 12 minutes to complete. It is normal activity for the VCI to reboot during the update process.
Step 4: Set up your network wireless profile on the VCI.
- NOTE: At this stage the VCI depends upon the VCI Setup Utility to obtain access to the network via USB connection if it’s not connected to a wireless network, so if the VCI Setup Utility was closed by accident, simply re-open it and leave it running in the background.
- Ensure the VCI is still connected to the PC via USB cable.
- Begin by clicking on the gear icon to open Device Manager in a new tab.
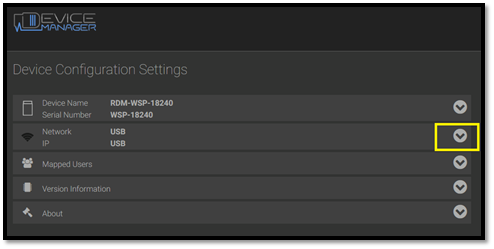
- Expand the Network column by clicking on the 2nd pointing-down arrow:
- Select your wireless network profile.
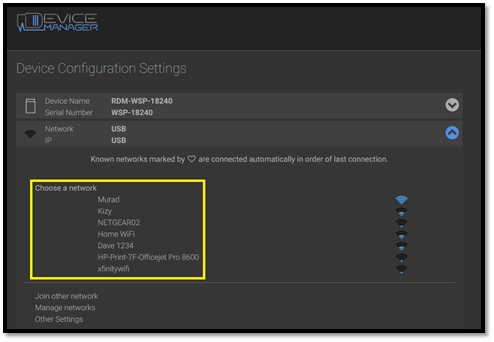
- Enter the correct password and then click Connect
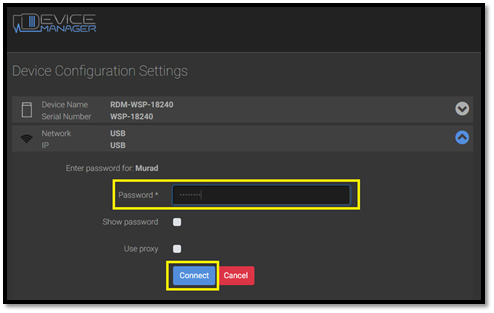
- Upon successful connection the device network name and IP will display.
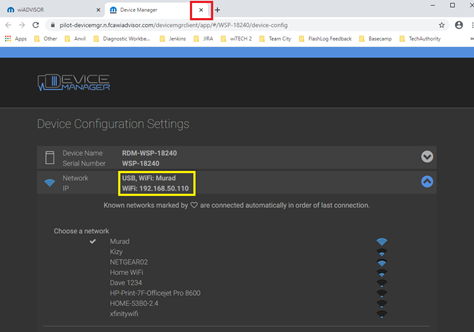
Congratulations! At this point your VCI is configured for usage with the new wiADVISOR. You may close the Device Manager tab (cf. the red box in the screenshot above), close the VCI Setup Utility, disconnect the VCI from the PC, and begin normal usage of your newly configured VCI.